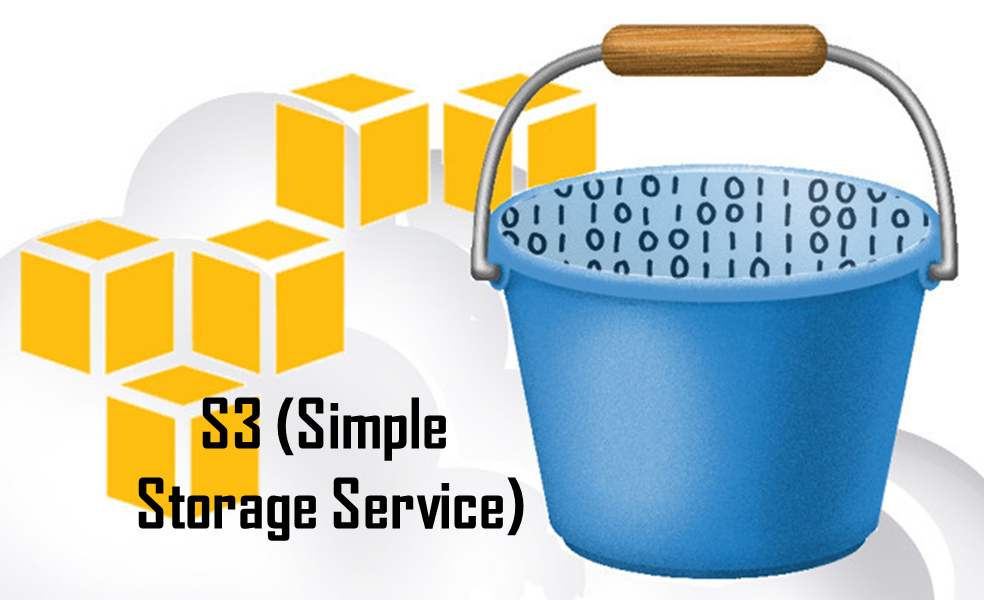
The beauty of AWS (Amazon Web Services) is that many services are per use, making low traffic sites very cheap to host. This is especially so if you create a static website which doesn't make use of Amazon EC2's. This can be achieved with AWS's S3 (Simple Storage Service). For many small businesses that don't have a lot of dynamic content on their site, and for which a content management system like Wordpress may be overkill, hosting a simple static site using S3 may be the way to go.
Unfortunately, using a S3 Bucket will require custom web design, as web hosting is not the primary purpose of S3. If you wish to design a site using drag and drop tools, using Weebly or a similar tool may be much easier. However, for those with free time, the need to customize, and the desire to get past a lot of its limitations, an amazon S3 static website may be the way to go
AWS Setup
1) You need at least a free Amazon AWS account (1st year you'll be in free tier (up to 5gb), after that it costs a small amount, depending on storage and network usage)
2) Once in the AWS Console, you need to navigate to S3 to create a new S3 bucket and set it to enable static hosting
- on bucket creation, ensure you allow public access to read the bucket in 'Manage Public Permissions'
- Once you create the bucket, click into the bucket, go to 'Properties', and click on 'Static Website Hosting' and select 'Use this bucket to host a website' and set the index.html (setting it it to index.html is fine)
3) You can setup Cloudfront to serve S3 objects to speed up the site
1) Aws should automatically prepopulate your s3 bucket in the 'origin domain name' field
2) Other options can be left at default, and you can click 'Create Distribution' at the bottom
4) Then you can point Route 53 to your Cloudfront distribution (you will need to register a domain for $10/year)
Once you have your domain, inside 'Hosted Zones', click on 'Record Set', and select CNAME and turn on the Alias radio button. AWS should auto-find your cloudfront distribution which you can point to your domain (or a subdomain
Website Setup and deployment
While you can use just static CSS and HTML, using a framework like foundation that allows the use of sass, and gives a lot of guidance with layout and styling over HTML5. Therefore, I recommend installing Foundation, specifically the Manual setup.
once installed, run
npm start
to set up the local server for development
to create your production ready assets, run
npm run build
you then use the aws CLI to directly copy the dist (production folder) to s3, and you can invalidate cloudfront to ensure the website is refreshed
if you don't have it already, you will need to install the AWS command line interface on your computer
you will then be able to use use the following commands to deploy your app and to invalidate (refresh) your cloudfront distribution
aws s3 cp dist/ s3://bucketname --recursive
aws configure set preview.cloudfront true
aws cloudfront create-invalidation --distribution-id YOURDISTRIBUTIONID --paths "/*"
aws cloudfront invaliations can only be done from the command line life have preview mode on. The distribution id is the unique identifier tied to your cloudfront distribution
I recommend putting both the build and copy steps into a deploy script, so you can push to your site easily whenever you make a change locally.
Creating a second test bucket which you push to first will allow you to create a staging environment so you can test changes before they go live

 Posted by Jonathan Weyermann on December 6, 2019 at 12:12 AM


0 Comments
Add Comment